Fullstack > Tools > 🔄 Git
GIT
Git is a distributed version control system widely used for source code management. It allows multiple developers to work on a project simultaneously without overwriting each other’s changes. This guide will help you install Git on your system and introduce you to a graphical user interface (GUI) for easier management.
Step 1: Install Git
On Windows:
- Download the Git for Windows installer from the official website.
- Run the installer and follow the on-screen instructions.
- During installation, when prompted to select components, ensure that “Git GUI Here” is checked to install the Git GUI tool.
On macOS:
- Open the Terminal application.
- Install Git using Homebrew by running:
brew install git - Alternatively, download the Git installer for macOS from the official website and follow the prompts.
On Linux:
- Open the terminal.
- Use the package manager specific to your distribution to install Git:
- Debian/Ubuntu:
sudo apt-get install git - Fedora:
sudo dnf install git - Arch Linux:
sudo pacman -S git
- Debian/Ubuntu:
Step 2: Verify Installation
To confirm that Git is installed correctly, open your terminal or command prompt and run:
git --version
If installed successfully, you should see output similar to:
git version 2.x.x
where 2.x.x represents the installed Git version.
Step 3: Configure Git
Set your user name and email:
git config --global user.name "Your Name"
git config --global user.email "your.email@example.com"
Github Desktop
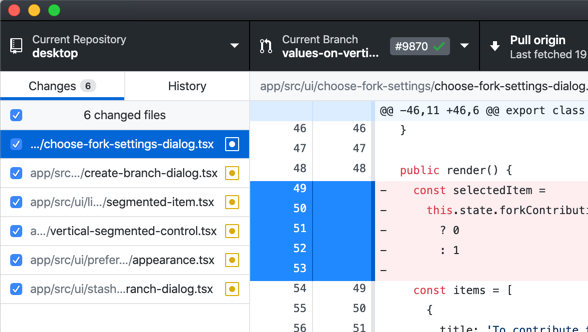
Figure: Git GUI Interface
Usage of Git
- Clone repositories.
- Commit and push changes.
- View commit history.
- Manage branches and merges.